I've been working on a spring trench coat, and after making the belt, I realized that I wanted a belt buckle, and that I had made my belt too wide to work with a purchased belt buckle. So I played around and made a matching, fabric-covered belt buckle, and was so happy with it, that I wanted to share.
I started by deciding how large I wanted my buckle to be. I made the inside width a little larger than the belt width, and I decided that I wanted my belt buckle to be taller than it is wide, but you can make one that is wider than it is tall, or one that is circular instead of rectangular.
After you choose your buckle size and shape, you need to pick a sturdy material for the belt base.
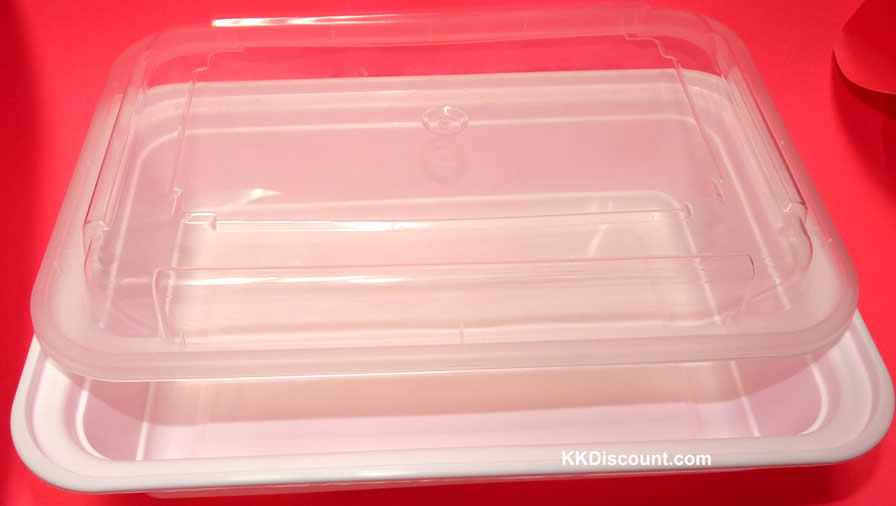
I used the bottom of a plastic take-out container to make my buckle, but you could also just use the side of an empty milk jug.
You will need to cut out 2 of your buckle shapes. Trace them on your plastic and then cut them out with scissors and/or an exacto knife. I used scissors to cut around the outside and an exacto knife for the "holes".
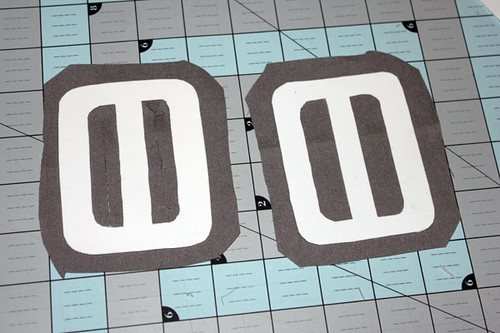
After the buckle shapes have been cut, cut 2 pieces of fabric slightly larger than the shapes. Mine are a 1/2 inch larger on all sides.
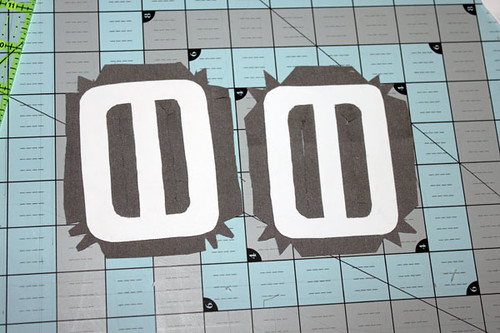
Using hot glue, glue the fabric to one side of each buckle shape, smoothing well. Then, carefully snip the curves inside the holes, and cut triangle-shaped wedges out of the curves on the outside of the buckles.
I forgot to take a picture of the next two steps, but you basically want to wrap the fabric to the back of the plastic, securing it with hot glue. Carefully put hot glue on each little fabric tab and press them onto the back of the plastic, making sure the fabric gets pulled tight, and that the curves look smooth from the front.
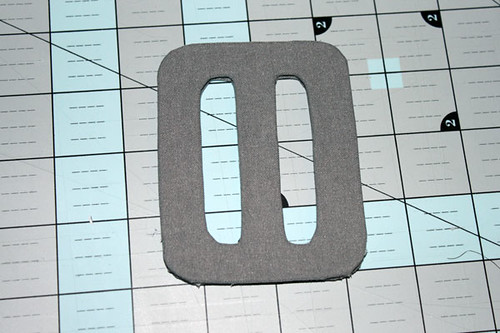
After the fabric is wrapped on both buckle sides, you will generously put hot glue on the entire backside of one buckle piece and press the other buckle piece onto it, hiding all the ugly fabric tabs. Now you will have something that looks like this.
A lovely fabric-covered buckle!
Now, you just have to add the belt!
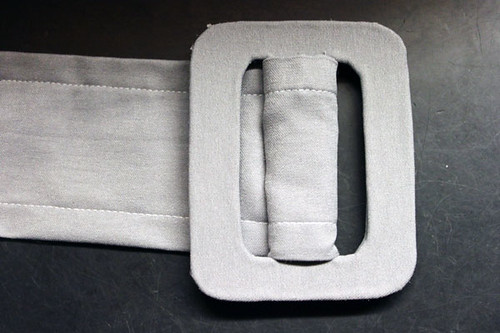
Attach one side of the belt to the middle of the buckle like so...
and now you have a fully functional, fabric-covered belt buckle!
A few notes...
1. This is a slide buckle, there is no pokey thing on the buckle, and no holes in the belt, which means that you are relying on friction from the buckle to hold the belt in place.
2. I actually tried using both E6000 and hot glue for securing the fabric to the plastic part of the buckle, but I hot glue was much easier to use because of its fast "dry time". I don't recommend using E6000 for this project. It was too messy and slow-drying for getting the little tabs of fabric to stick.
Just in case you were confused before, I made this handy diagram to summarize the entire process and help explain the parts where I forgot to take pictures.
If you are still confused OR you think I need to learn to draw better, just let me know and I will try to clarify or
draw another picture think of a better way to convey information besides drawing.

