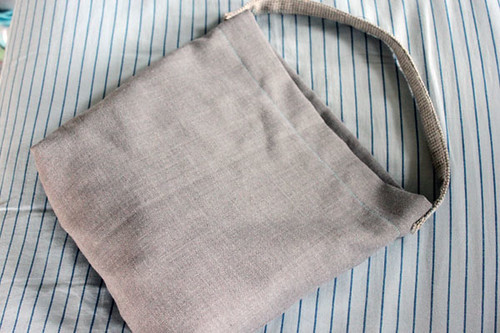
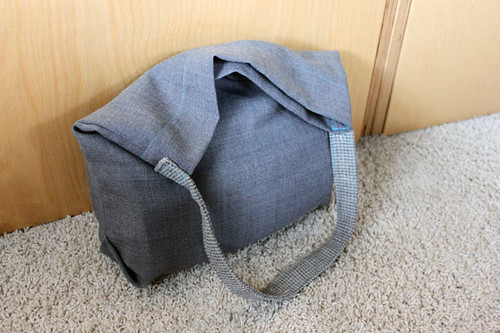
This bag also happens to be reversible, so you really can have 2 bags in one!
To start, you need to decide what size you want your bag to be.
Mine was 10 inches wide, 11 inches tall, and 4 inches deep.
Next we must calculate the fabric sizes.
There will be 3 pieces: 1 for the outside, 1 for the lining, and 1 for the strap.
The outside and lining pieces can be calculated as such (sorry, but I am an engineer...I like math!):
fabric length = (height x 2) + depth + (2 x seam allowance)
fabric width = width + depth + (2 x seam allowance)
(for my bag, I used 1/2" seam allowances. this comes out to:
length = (11 x 2) + 4 + (0.5 x 2) = 22 + 4 + 1 = 27"
width = 10 + 4 + (0.5 x 2) = 10 + 4 + 1 = 15"
so my outer and inner fabrics would each be 27" by 15")
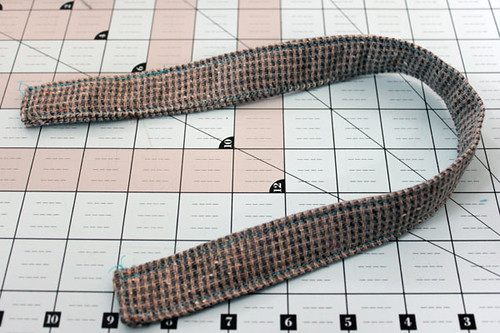
for the strap, a width of 4" by any desired length (I used 18") will work nicely.
Ok, now that you have your fabric pieces, we can begin construction.
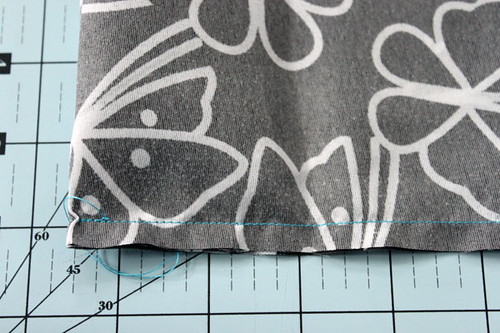
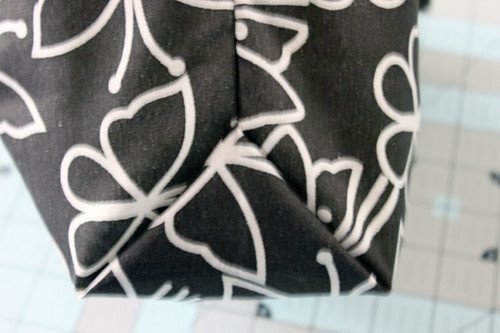
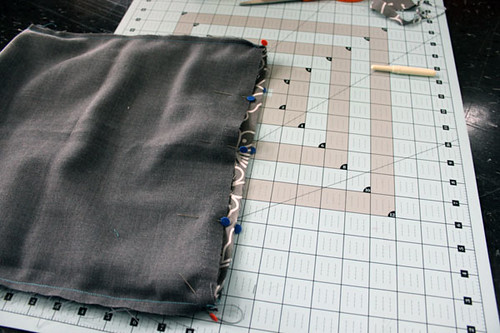
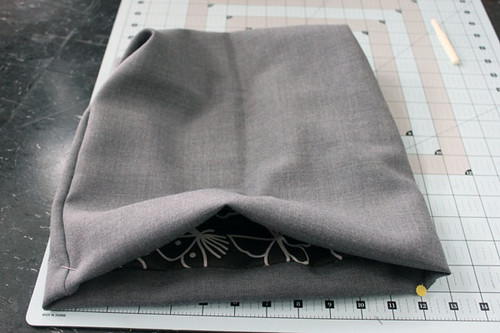
Begin with one of your fabric pieces (I started with my lining fabric), and fold it in half, right sides together. Now, take the folded edge, and move it up to the desired bag depth (for mine, I moved it 4" for a 4" gusset)
Does this picture help explain?
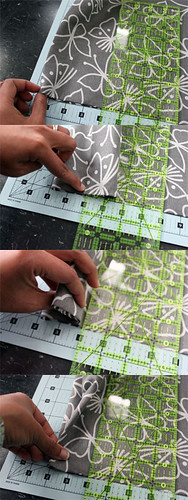
I like to perform this step with my fabric on my cutting mat, and a ruler held at the top, where I want to move my fold.
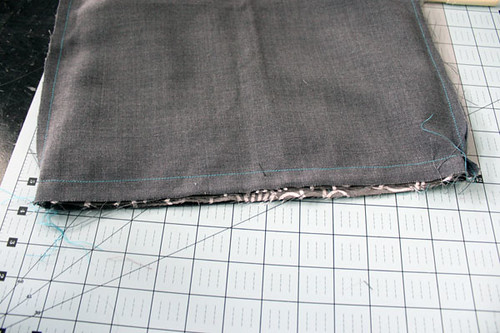
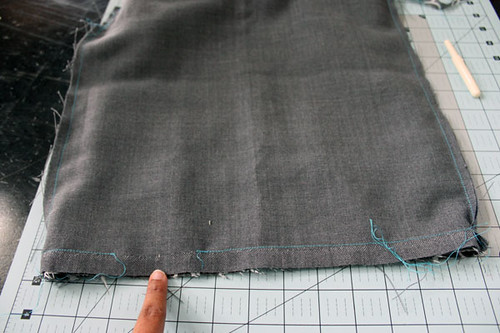
Hopefully you can see from the pictures, that you are moving the fold to be sandwiched in between the 2 sides.

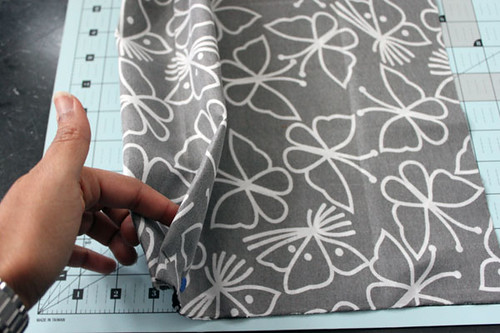
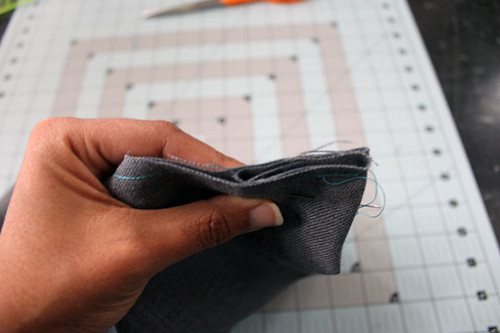
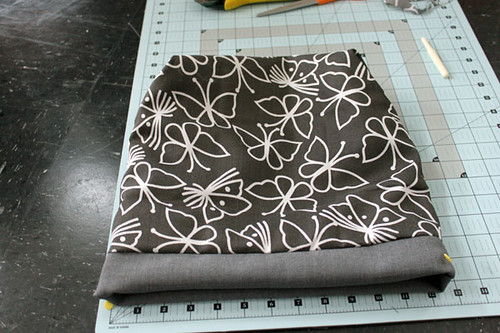
Once you do this, pin and sew the side seams.
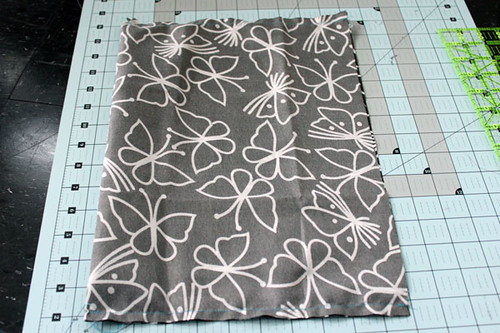
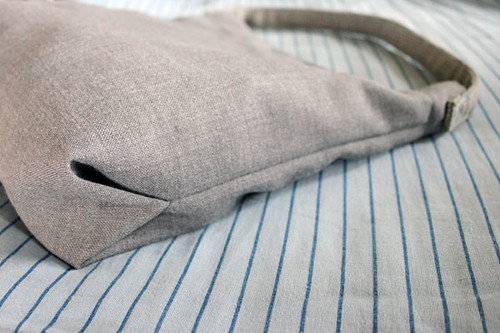
You will end up with something that looks like this when turned right side out.
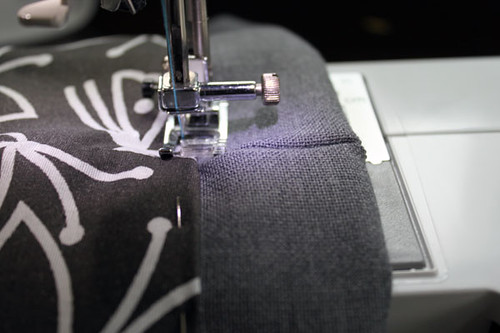
Now you can slide the lining into the outer, right sides together, matching up the top edges and side seams. Pin these together.
Sew around the top, leaving a 3-4 inch gap for turning.
Turn right side out and topstitch around edge to close gap. (here you can see how I made the outer wrap around inside the bag, but normally you would just sew along the very top of the bag).
Your bag is now done, with the exception of the strap!
Now you can form the strap. Fold in half lengthwise and press. open and fold sides to center. fold in half again and pin down the length of the strap. turn the ends in and pin.

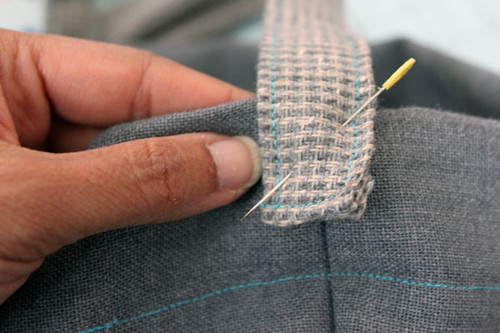
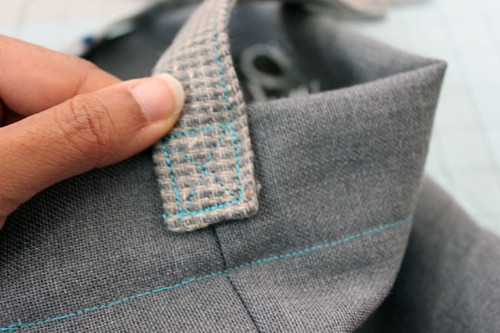
Now, pin the strap to the sides of the bag, and sew a square with an X in the middle to secure.
You are all done! Easy, right?

Let me know if any of the instructions are confusing, and I can try to clarify. But I have a feeling that once you make one, you might want to make enough for all your favorite people!
No comments
Post a Comment